


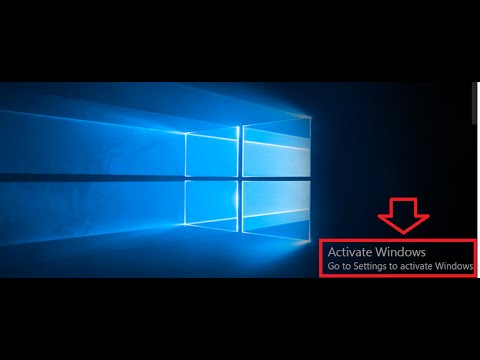
Normally, to get rid of Activate Windows 10 watermark on the right corner of the screen once exploitation Windows 10, you may must purchase a serial key activation license from Microsoft or through some tools that facilitate unlock the OS free, however the tactic this can be a possible danger to the pc. Therefore, during this article we tend to share you ways to delete Activate Windows ten watermark very simple and create the desktop look higher while not touching the system. There are several softwares out there claiming to get rid of this watermark below one click of a button. However, one shouldn’t trust a 3rd party application, notably windows activation softwares.
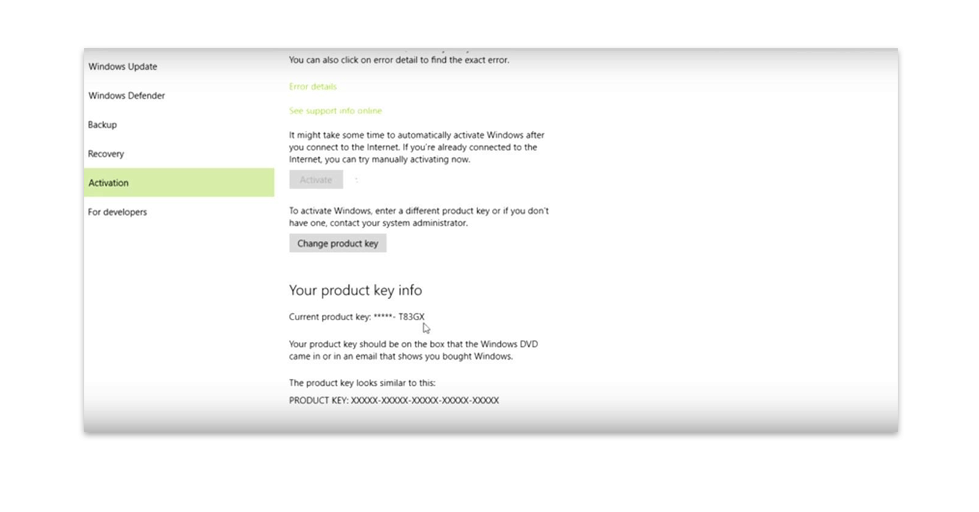
The most apparent thanks to get obviate this tiresome sign is to shop for a serious authorized version. For this, you have got to click on ‘Activate Windows Now’. however as you’ll notice, you wish your Windows key, that is provided either on the box or within the confirmation letter you get once getting a authorized version.

Option 1: Clear Watermark manually
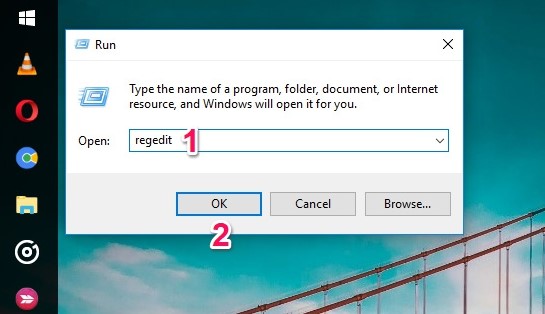
Step 1: Press the Windows + R key combination to display the Run dialog box
Step 2: In the Run dialog box, type regedit and press Enter to launch Registry Editor

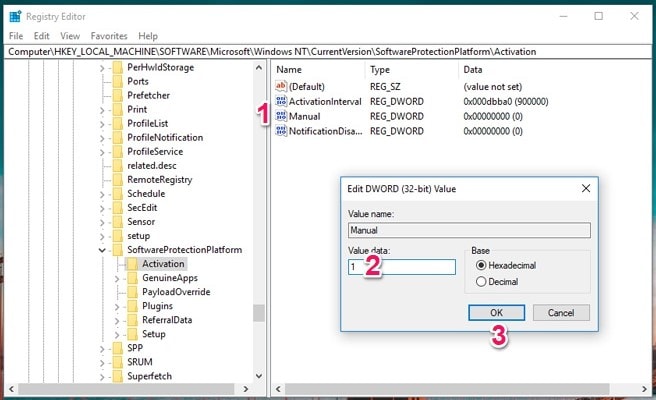
Step 3: At the Registry Editor interface, you access the Activation section under the path.
HKEY_LOCAL_MACHINE > SOFTWARE > Microsoft > WindowsNT > CurrentVersion > SoftwareProtectionPlatform > Activation
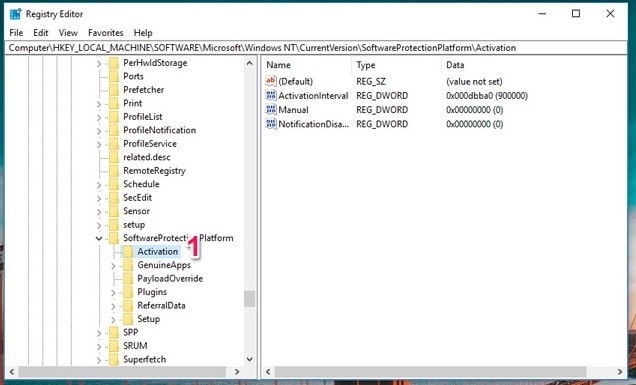

Step 4: With the Activation section you will see a variable named Manual, double-click it and change the default value in Value data from 0 to 1, then click OK.

Step 5: Reboot the device is complete, Watermark will disappear forever without the money to buy a license key or use a cracking tool.
Option 2: Ease of Access settings
Another workaround concerns Ease of Access settings. The main idea under this solution is to take away background images. As you might have guessed, the watermark will disappear as well. To do this, follow these steps:
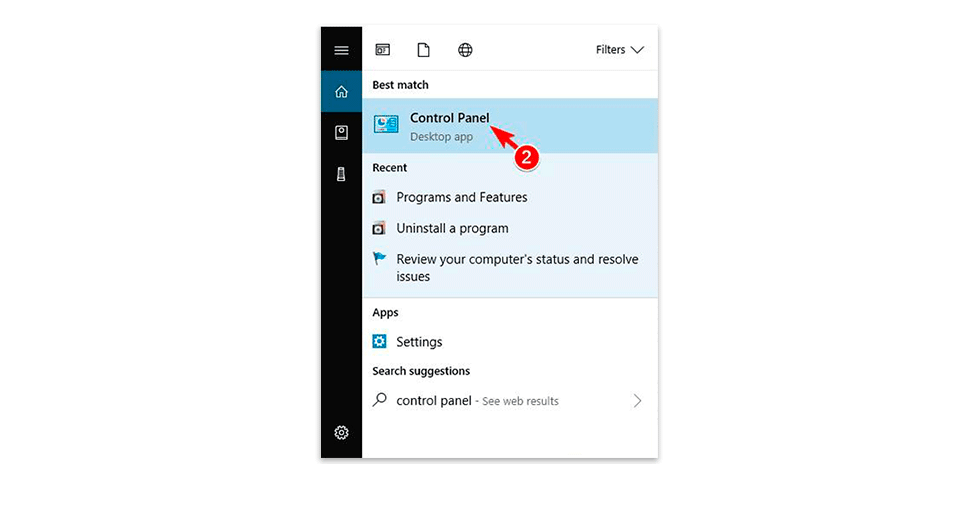
- Click the next combination of keys Windows Key + S and choose Control panel from the results shown.
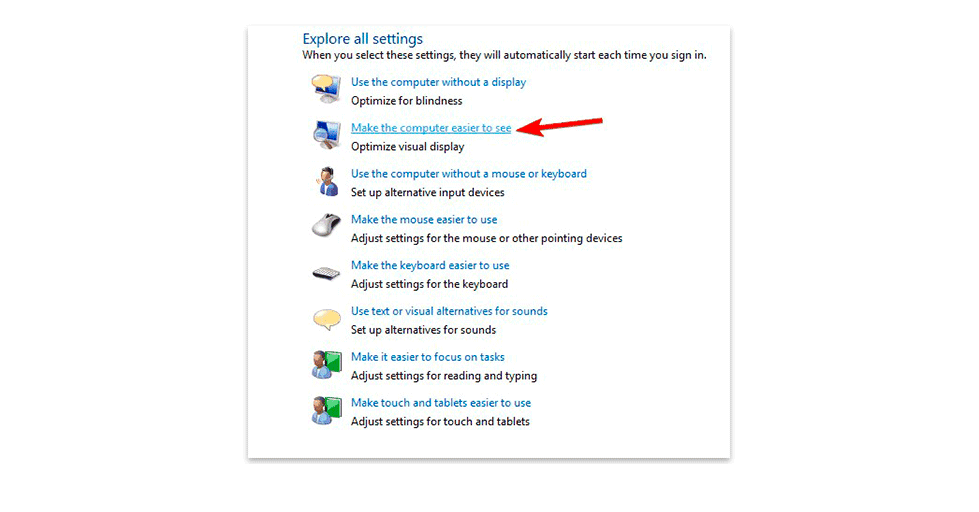
- From the list, choose Ease of Access Center.

- Choose the option: Make the computer easier to see.
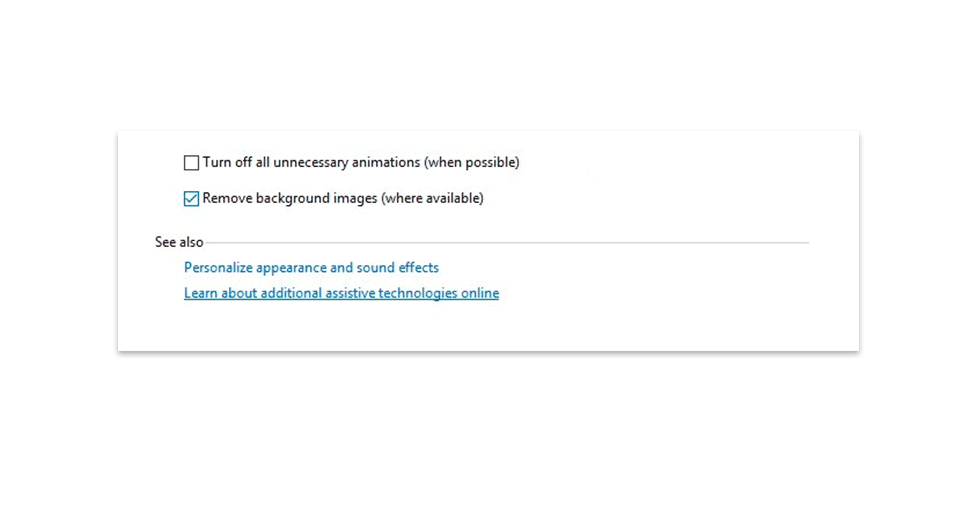
4. Choose the tick box against the variant: Remove background images (where available) and confirm.
This approach is rather primitive, though it does work. Therefore, if you need to get rid of the Windows watermark as soon as possible, this solution may really come in handy.
Option 3: Standard settings in the OS support center
The first solution is officially available on the Microsoft Support website. It takes just a couple of steps and is ideal if you don’t know your way around computers.
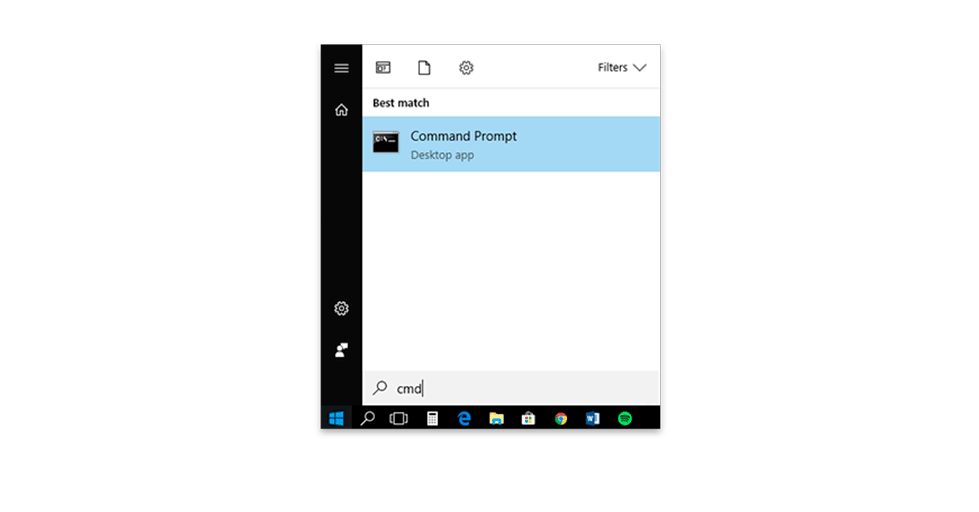
1)Type cmd, click Command Prompt, and choose the Run as administrator option.
2) Then, you’ll see a black Command Prompt window. There you need to type the following phrase bcdedit -set TESTSIGNING OFF, and without further delay click Enter.


3) After that, close the window and reboot the computer.
Option 4: Use the support tool
Universal Watermark Disabler:
1: Download Universal Watermark Disabler, a tool to remove watermarks on Windows 10.
2: Run the tool and click the Install button> Yes when prompted
3: The computer will automatically log off and when you enter the Desktop you will see that the watermark in the right corner has disappeared
Windows 10 Watermark Remover:
1: Download Windows 10 Watermark Remover
2: Run the extract and run the Windows 10 Watermark Remover.exe file, then click the Remove Watermark button at the main interface of the tool.
3: The computer will automatically log off and when you enter the Desktop you will see Watermark in the right corner has been removed.