


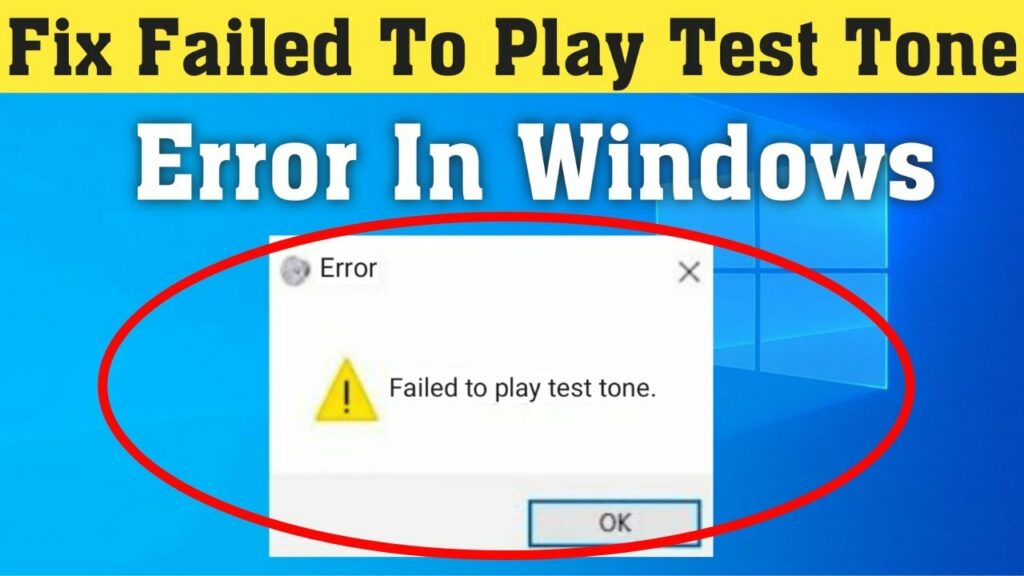
This post will explain failed to play test tone. Have you bought a new pair of earphones or speakers? Then, you need to test the device on your computer. But, after testing are you receiving the “failed to play test tone Windows 10” error message? Then, you are not simply who is viewing this problematic circumstance. Just recently, numerous Windows 10 users have reported facing this problem.
So, how can you repair this problem? There are a few common hacks like upgrading your OS, chauffeurs that may pertain to your mind. But, these approaches are not enough to resolve the issue. So, to begin with, you require to understand the real reasons behind it.
Failed to Play Test Tone Windows 10? Follow 6 Easy Methods to Fix
In this article, you can know about failed to play test tone here are the details below;
The error might appear in numerous kinds. Let’s get to know the proper reason.
The Audio failure relating to the Test Tone
Sound blaster, DTS Audio, IDT, Realtek Audio, etc are some of the audio applications that come preloaded with your computer. If you fail to test the system audio, then the pre-loaded audio software chauffeurs might be dated or corrupted. Also check virtual care management
The Role of USB
Faulty or harmed USB may not discover the external noise gadgets. Therefore, your system may fail to play the test tone. In the regards to the USB, you might have to take the support of professional computer experts.
The Failure of HDMI Audio
If the HDMI audio port is not sending any sound, then you may not be able to run the playtest tone. In such a scenario, the graphics card can be responsible for the failure. Upgrading the motorists might fix the problem.
Problems with the Dedicated Sound Card
The dedicated or integrated sound failure may result in no play test tone. In such a situation, you may require to change the sound card or update the drivers.
The Effective Solutions to Fix the Error
Hopefully, you have a brief idea about the problem and why it’s taking place. Now, let’s get to the efficient service or the troubleshooting approaches that will help you to fix “failed to play test tone Windows 10”.
1. Repair work or change the Speakers
When it comes to a laptop, if the speakers end up being defective, then you need to take the help of the official service centre. And, for desktops, check out the defective area of the speaker, if it’s repairable, then go for it. If not, then change the speakers with a brand-new one. Now, you may not deal with the “failed to play test tone Windows 10” message.
2. Rollback the Drivers to Default Mode
If the motorists become damaged or outdated, you need to look after them at the earliest. Rolling back the chauffeurs to typical working mode needs the Device Manager. Locate the sound motorist adapter, right-click on it to uninstall it initially. Following the same treatment, you need to update it. If you need any extra modifications, choose “Scan for hardware modifications” to get more info. Also check a good company meaning
3. New Driver Setup Files
Based upon the previous recommendations, you can upgrade the chauffeurs from the Device Management section. In case, the automated download stops working, you have to go to the setup files by hand, check for any driver discs. If you can not find one, go to the manufacturer site to update them. Now, a fresh setup of the driver setup files has the optimum chance to get rid of the “failed to play test tone Windows 10” mistake.
4. Modification the Sound/Audio Format
The integrated alternative of the playback device in the computer system will assist you in altering the audio format. Locate the sound icon from the system tray. Right-click on it and choose “Playback gadgets”. Select “Speakers” and open its homes from the noise window. From the area of default format, pick the high sound frequency and end up the task by clicking on the OK button. If you see that the high-quality mode is currently picked and still you are facing a “failed to play test tone Windows 10” message, then restore the settings to its default mode.
5. Turn off the Audio Enhancements
The Enhancements tab that exists in Speaker Properties has the direct choice. Navigate to the Speaker homes, disable all the improvements and conserve modifications. After that, play the sound test and inspect whether whatever is in the appropriate order or not.
6. Switch Off Sound Specialization Mode
The special sound control of any computer system assists you to modify the sound equalizer automatically. This occurs only when you are playing a media file, and it is called the Exclusive mode. And, you will get this Mode in the Speaker Properties’s Advanced tab. Disable the alternative so that the Exclusive mode does not permit the applications to take control over the system audio. Also check csrss.exe
Are you planning to Run the Troubleshoot choice?
Several professionals believe that running the system troubleshoot option might assist you to remove the “failed to play test tone Windows 10” mistake. The Update and Security option has access to the Playing Audio Troubleshooter option. Initiate the procedure and wait on a long time. When errors get discovered, solve them with the help of on-screen guidelines.
Stop using Third-party Audio Enhancer
You might like to utilize any third-party audio enhancer for enhanced sound impacts, however they also have the ability to corrupt the drivers. And, hence the “failed to play test tone Windows 10” error may appear. So, disable the application for a long time. After the audio screening procedure is over, you might turn it on, once again.