


Steam, by default, has the setup in which it automatically upgrades your match whenever it’s a network link. Though this technique is quite powerful as Steam has upgraded in the background while the user performs his activities in the computer, it may also end up being a nuisance for those that have metered/limited connections. Even though there isn’t any particular way however to turn off most of worldwide automatic upgrades with a button, you will find choices present. Have a look at the approaches given below.
Fortunately, there are a few – shall we say artisanal – ways around this. Regardless of whether you have an internet connection capped at a certain number of GB per month or you don’t want to alter a game with the latest balance shifting update, you’ve come to right place to get a grasp on how to more or less shape Steam auto updates to your will.
Solution 1: Disabling automatic update for a game
There is an option where you can disable all the automatic updates for a single game. This method is very effective and easy as you can toggle this through your Steam client without any hassle. However, if you have a lot of Steam games installed, this can prove to be a tedious task.
- Open your Steam client.
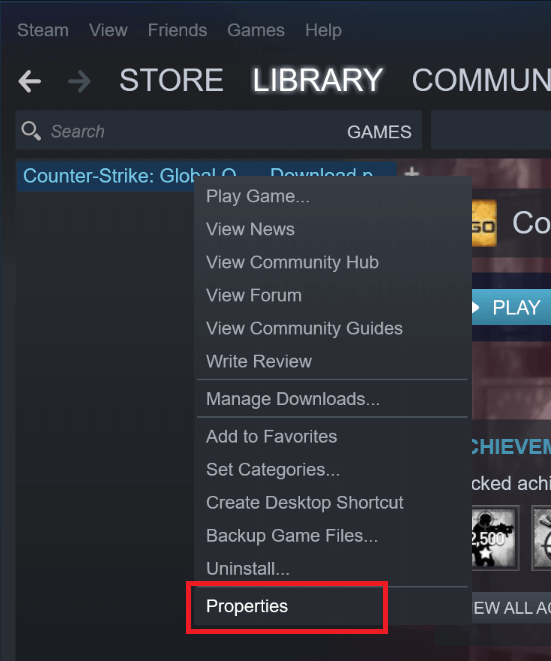
- Head over to the Library tab present at the top of the screen. Now all your games will be listed in the left column of the screen.
- Right click on the game you want to change the settings of and select Properties.


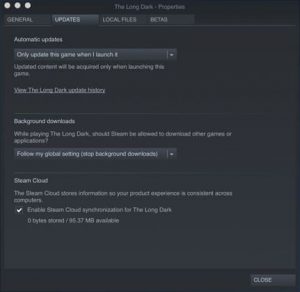
- Once Properties is opened, head to the Updates tab located on the top of the window. Now you will see an option regarding automatic updates. After you click Automatic Updates, a drop down menu will appear and you will be able to choose from three options available.
Always keep this game up-to date: This is the default option and in this, Steam will update your game whenever it has a network connection.
Only update this game when I launch it: This option disables all the automatic updates of the game and forces the game to update only when you want to play it.
High Priority: Always auto-update this game before others: This option will automatically give your game priority as compared to others when updating. This is a useful option when you play a game very frequently.
You can choose from these options whatever that seems fit to you.

Solution 2: Change the Auto update schedule
To avoid future problems with updates, you can set certain update schedules outside your working hours. A good time will be late at night, when you don’t use your Windows 10 PC for anything.
To change the update schedule, do the following:
- Launch Steam.
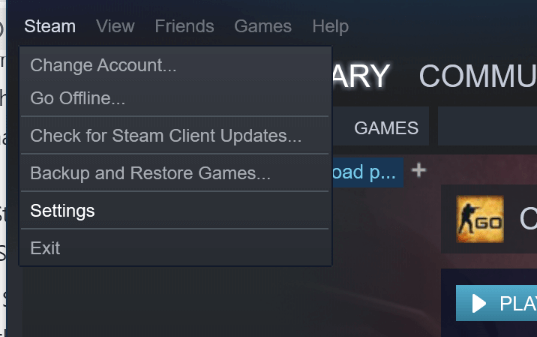
- In the top menu, choose Steam/View and then Settings.
- In the left side-panel click on Downloads.
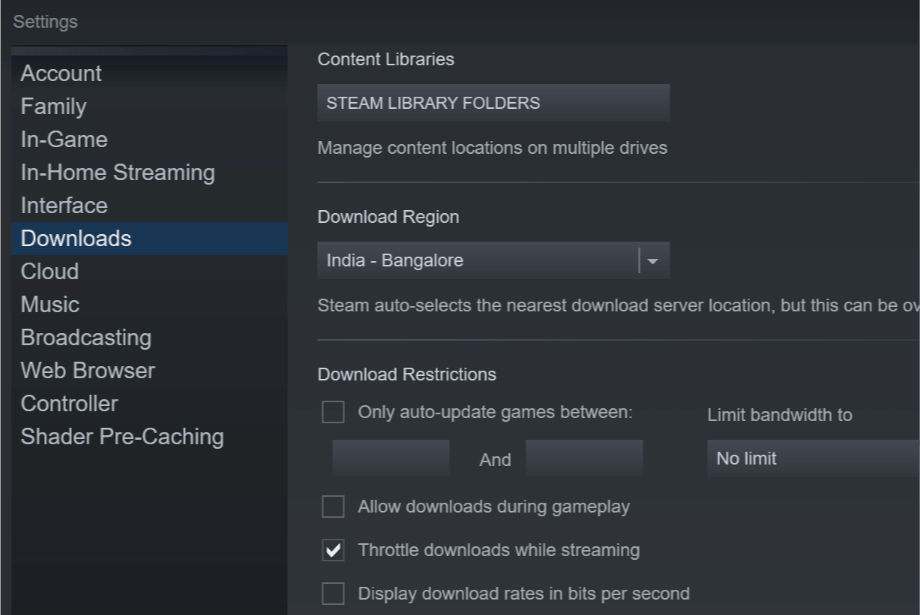
- In the right section, under Download Restrictions, check Only auto-update games between option and then insert a time frame that fits your needs the best.
We have to mention that this solution applies for future updates only. If a game is already scheduled with an update, then you won’t be able to play it until you’ll update it.
Additionally, you can also limit the bandwidth for downloading updates just in the case sometimes the background update is running while you use your Windows 10 computer.
To do that, just follow the steps above and right next to Download Restrictions you will see a Limit bandwidth to drop-down menu. Choose the lowest amount possible (usually 16kb/s).
Solution 3: Stop the Auto update on a single game
This solution allows you to stop all auto-updates on a single game. It has been confirmed by many users and it is very effective. If you want to try it yourself, follow the steps:
- Launch Steam.
- Go to Library.
- Right-click a certain game that you’re interested in and select Proprieties.
- A new window will appear. Click on Updates tab.
- Under the Automatic updates you’ll see a drop-down menu. Click it.
- Now you have 3 options: Always keep this game up-to date, Only update this game when I launch it, High Priority: Always auto-update this game before others. Select the Only update this game when I launch it option.
- Remember to disable your internet connection every time before starting the respective game.
If your internet connection is disabled, Steam won’t be able to connect to the servers and the auto-update process won’t start. You will be able to play the game without any interruptions.
Although the solution works like a charm, it will be a bit tedious if you have a lot of games in the Library.
Solution 3: Disable Steam’s startup process
By default, Steam processes start in the background when the Windows 10 PC starts. In this way, Steam is making sure that the auto-update runs all the time in the background and keeps you games up-to-date.
To make sure that that never happens and you can use your full internet connection speed, stop Steam from opening at startup:
- Launch Steam.
- In the top menu, choose Steam/View and then Settings.
- In the left side-panel, choose Interface.
- Uncheck Run Steam when my computer starts.
- Save and Exit.
Now Steam won’t automatically open when you start Windows 10 and the update process will only take place when you decide, by opening Steam or a Steam game.