


Usually, it’s not advised to run a GUI (Graphical User Interface) on a server system. Operation on any server should be done on the CLI (Command Line Interface). The primary reason for this is that GUI exerts a lot of demand on hardware resources such as RAM and CPU. However, if you are a little curious and want to try out different light-weight Desktop managers on one of your servers, follow this guide.
In this tutorial, I am going to cover the installation of 7 desktop environments on Ubuntu.
- MATE core
- Lubuntu core
- Kubuntu core
- XFCE
- LXDE
- GNOME
- Budgie Desktop
Prerequisites
Before getting started, ensure that you update & upgrade your system
$ sudo apt update && sudo apt upgrade
Next, install tasksel manager.
$sudo apt install tasksel
Now we can begin installing the various Desktop environments.
1) Mate Core Server Desktop
Installing the MATE desktop use the following command
$ sudo tasksel install ubuntu-mate-core
Once the GUI is up and running launch it using the following option
$ sudo service lightdm start


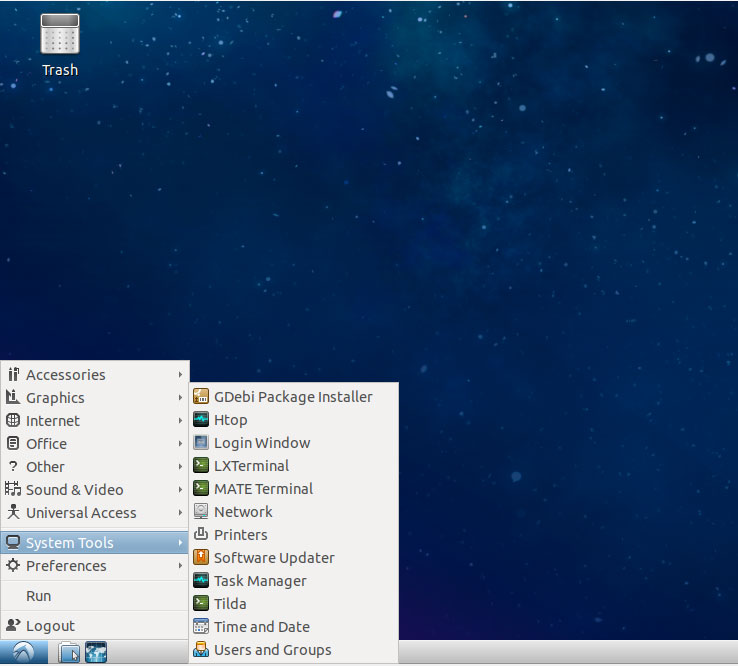
2) Lubuntu Core Server Desktop
This is considered to be the most lightweight and resource friendly GUI for Ubuntu 18.04 server
It is based on the LXDE desktop environment. To install Lubuntu execute
$ sudo tasksel install lubuntu-core
Once the Lubuntu-core GUI is successfully installed, launch the display manager by running the command below or simply by rebooting your system
$ sudo service lightdm start
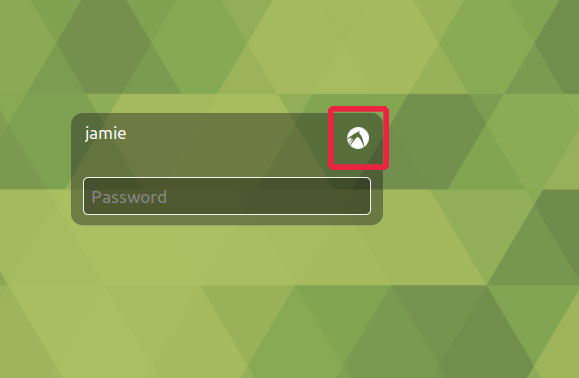
Thereafter, Log out and click on the button as shown to select the GUI manager of your choice

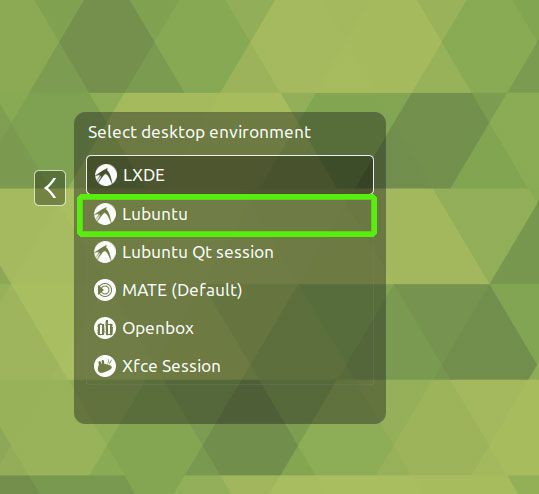
In the drop-down list, click on Lubuntu

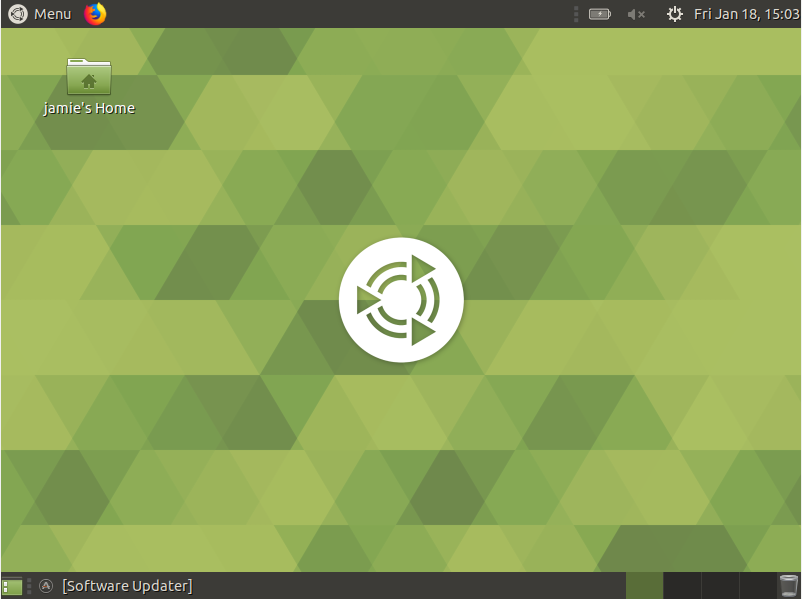
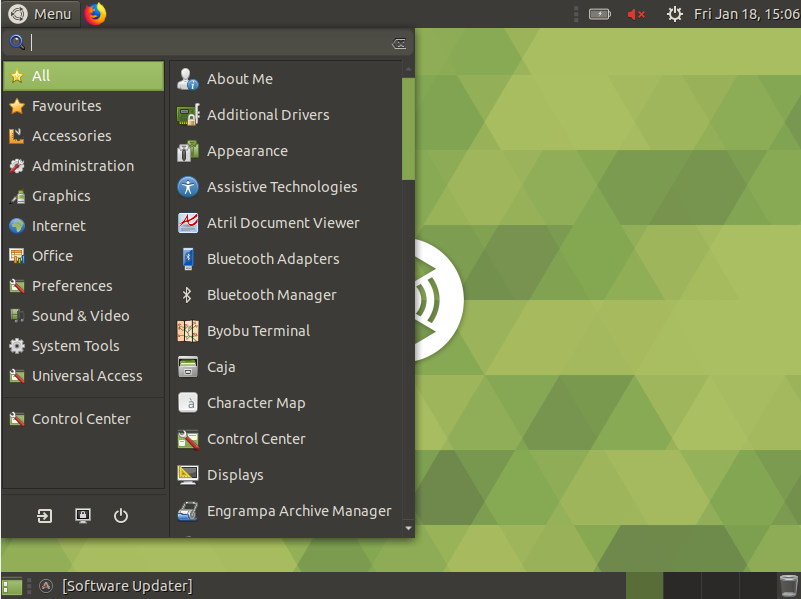
Log in and Lubuntu will be launched as shown

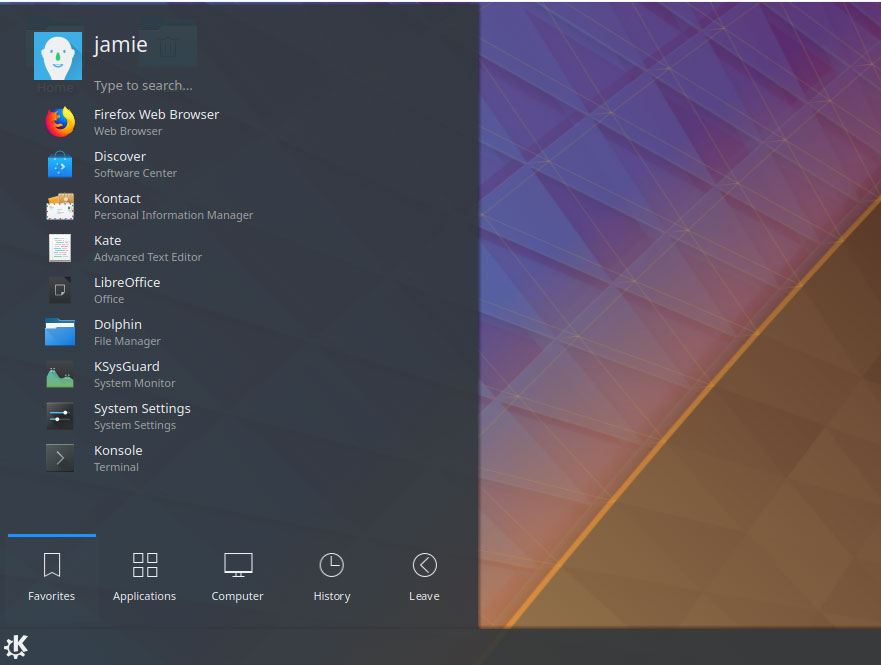
3) Kubuntu Core Server Desktop
Xubuntu is yet another light-weight desktop environment that borrows a lot from Xfce desktop environment.
To get started with the installation of Xubuntu run the command below
$ sudo tasksel install kubuntu-desktop
Once it is successfully installed, start the display manager by running the command below or simply restart your server
$ sudo service lightdm start
Once again, log out or restart your machine and from drop the drop-down list, select Kubuntu

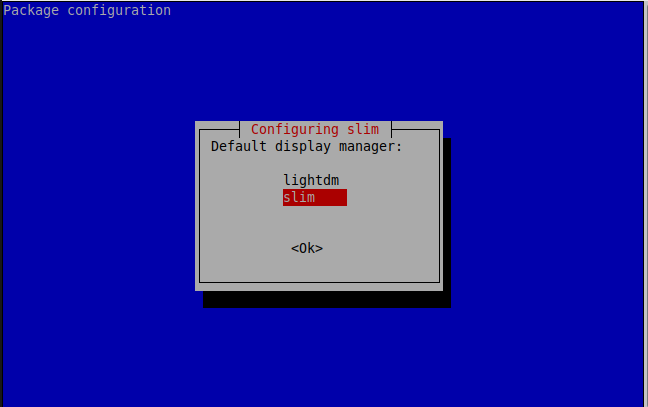
4) XFCE
Xubuntu borrows a leaf from the Xfce4 environment. To install it use the following command
# sudo tasksel install xfce4-slim
After the GUI installation, use the command to activate it
# sudo service slim start
This will prompt you to select the default manager. Select slim and hit ENTER.

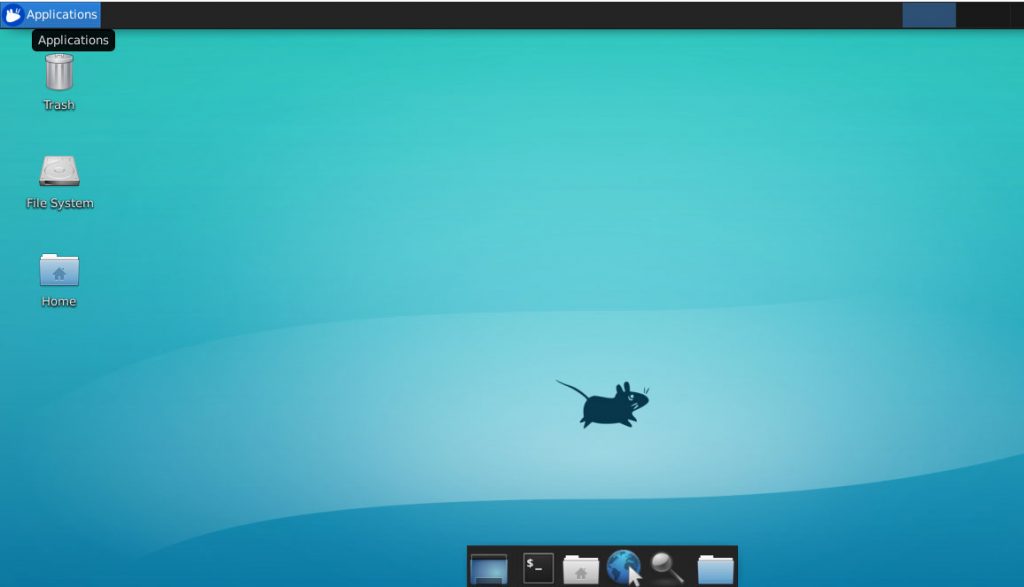
Log out or reboot and select ‘Xfce’ option from the drop-down list and login using your credentials.
Shortly, the Xfce display manager will come to life.

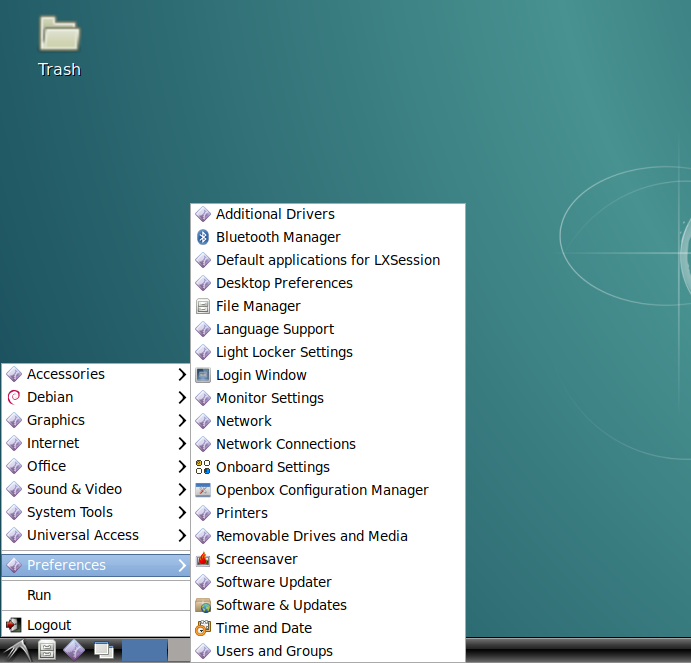
5) LXDE
This desktop is considered the most economical to system resources. Lubuntu is based on LXDE desktop environment. Use the following command
$ sudo apt-get install lxde
To start LXDE, log out or reboot and select ‘LXDE’ from the drop-down list of display managers on log on.

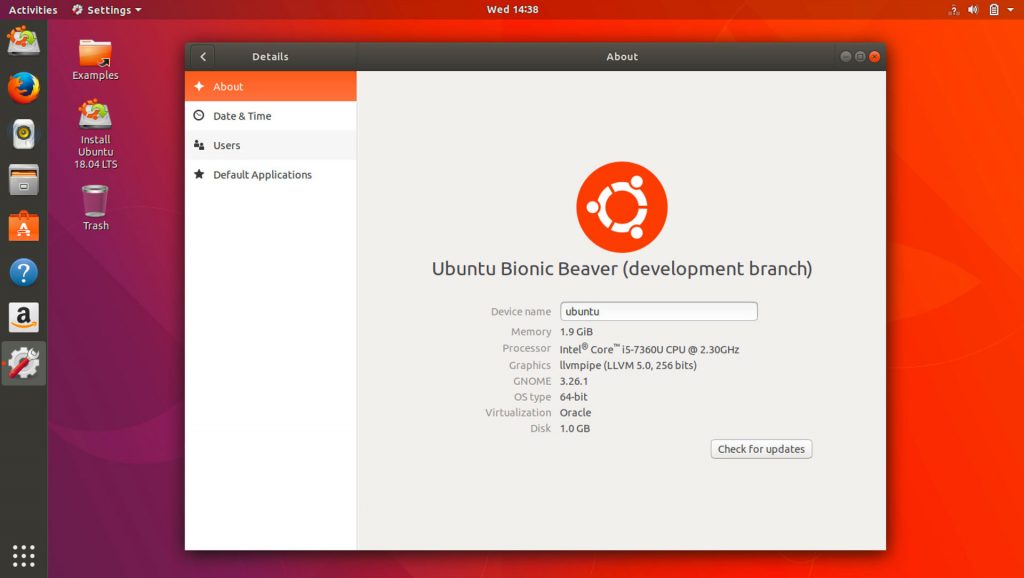
6) GNOME
Gnome will take typically 5 to 10 minutes to install depending on the hardware and software requirements your server has. Run the following command to install Gnome
$ sudo apt-get install ubuntu-gnome-desktop
or
$sudo tasksel ubuntu-desktop
To activate Gnome, restart the server or use the following command
$ sudo service lightdm start

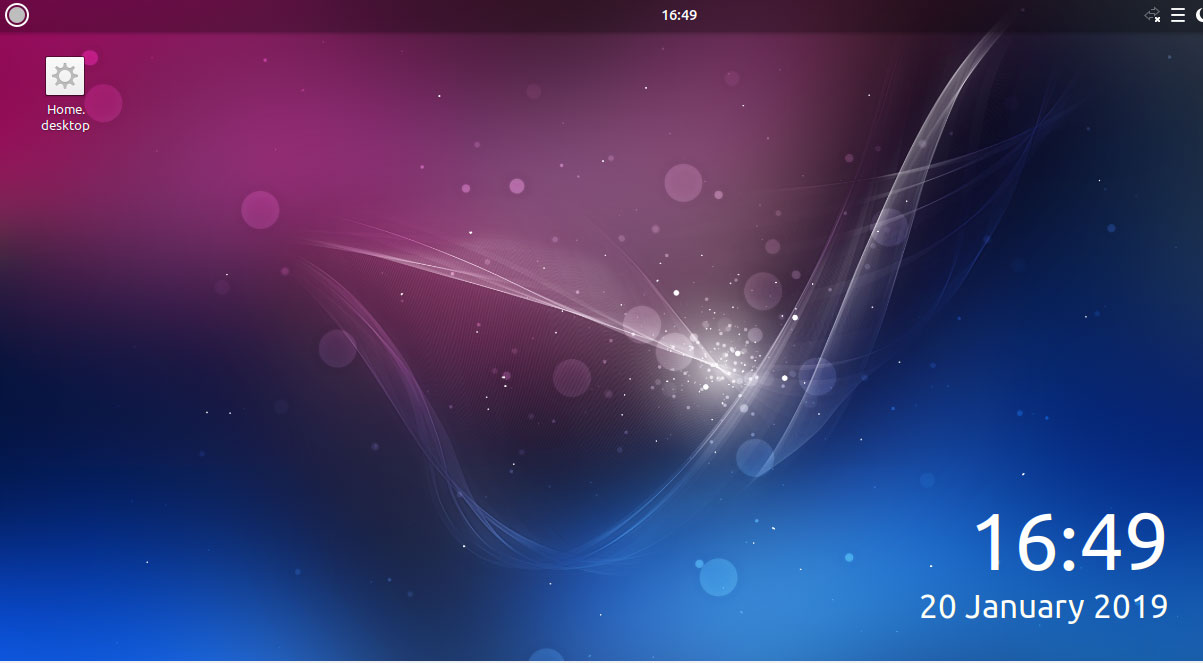
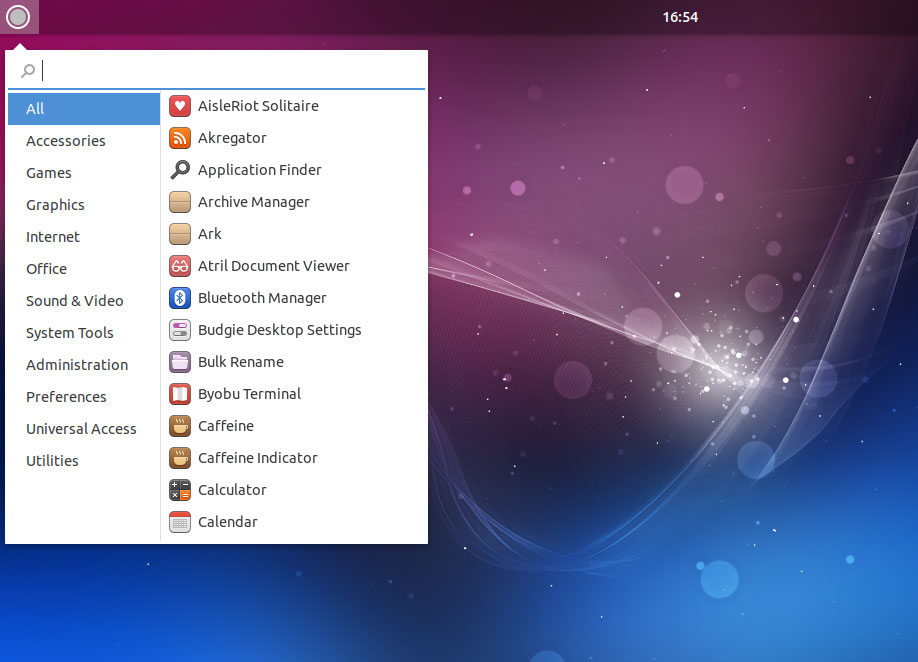
7) Budgie Desktop
Finally, let us install Budgie Desktop environment. To accomplish this, execute the following command
$ sudo apt install ubuntu-budgie-desktop
After successful installation, log out and select the Budgie desktop option. Log in with your username and password and enjoy the beauty of budgie!


Sometimes you need the GUI on your Ubuntu server to handle simple day-to-day tasks that need quick interaction without going deep into the server settings. Feel free to try out the various display managers and let us know your thoughts.