


The iPad Camera has the ability to record beautiful time-lapse videos. Time-lapse offers a fun way to record activities and events over time, for example it can be a fun way to record a video of a fireworks show, a busy road, clouds moving in the sky, the change in colors of a sunrise or sunset, or even something like a soccer game or yourself cleaning the house.
Read on to learn how to record a time-Lapse videos using the iPad camera.
All modern iPads will support the time-lapse recording feature, including iPad Pro, iPad Air, iPad Mini, and iPad. Of course the iPhone can record time-lapse videos too, but this particular article is going to focus on iPad.
How to Record a Time-Lapse Video with iPad Camera
-
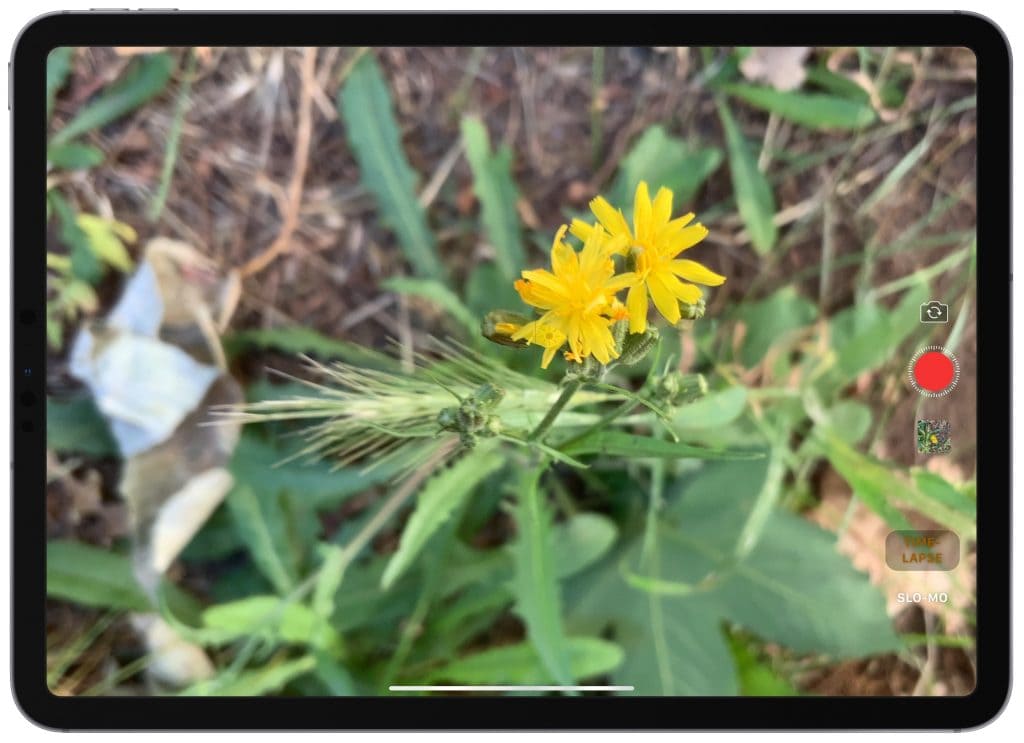
- Open the iPad Camera, either from the lock screen or by launching Camera app
![]()

-
- Swipe on the camera mode until you’re set to “Time-Lapse”
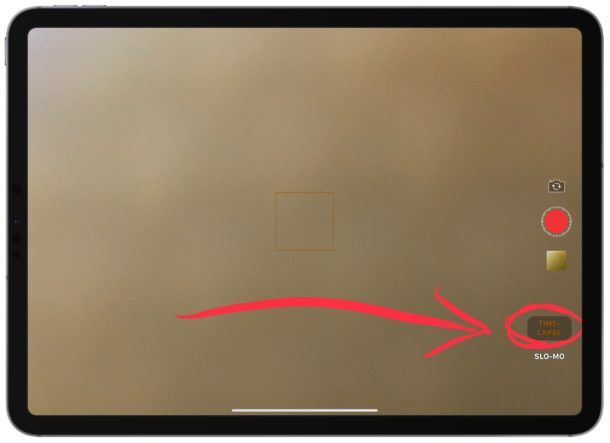

-
- Set the iPad somewhere sturdy and stable, then tap on the red record button to begin the time-lapse video recording
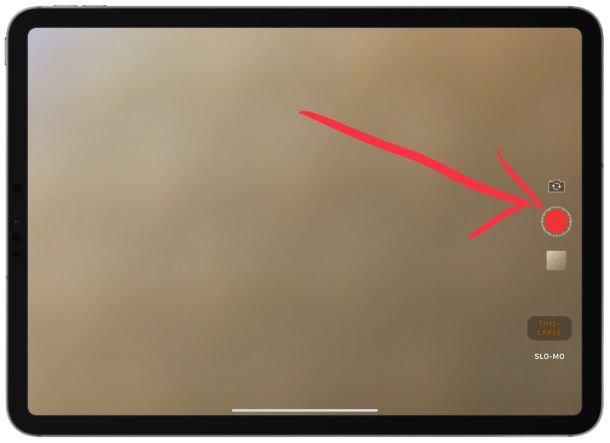
-
- Tap on the red stop button when finished recording the time-lapse video

For best results you’ll want to make sure the iPad is on a stable and sturdy surface that won’t be knocked or moved, and you’ll want to record for a while since time-lapse tends to work best with a lot of footage captured.
To keep the iPad stable, try using the iPad Smart Keyboard, an iPad Smart Cover, or any other type of iPad stand, each of which is excellent for this purpose since it will help to keep the iPad sturdy. Generally speaking you won’t want to try and record a time-lapse video while holding the iPad as the movement of holding the iPad will make for a less than stellar video.
The finished recording of the time-lapse video will appear in the Photos app camera roll, like any other recorded video.
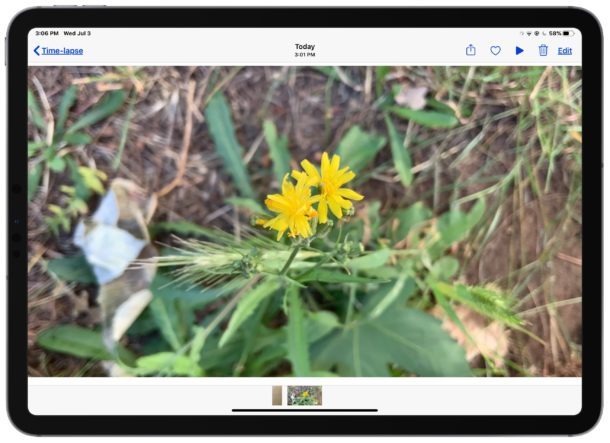
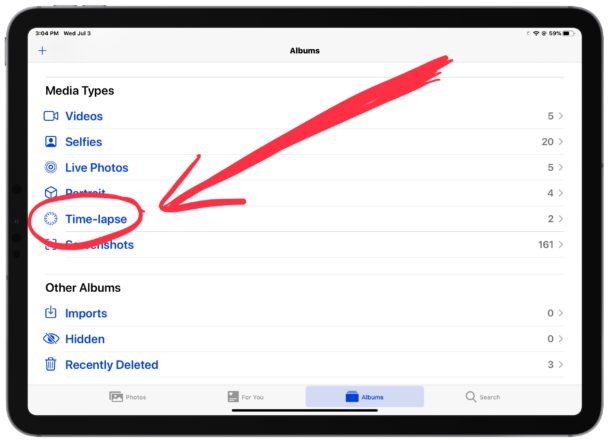
You can also quickly access the time-lapse video recording from the Photos app by going to the “Media” types section of the Album view and choosing “Time-Lapse”.
Playing time-lapse video recordings is the same as playing any other captured video or movie on the iPad within Photos app, just tap on the video and then tap to play or pause.
The embedded video below shows an example of a time-lapse video recording captured with an iOS camera, in this case the time-lapse recording is of trees and clouds blowing in the wind:

You can also make simple adjustments to the time-lapse video after it has been recorded, to trim the video, or to adjust a filter, colors, and make other simple edits directly within the Photos app. Any further complex editing should be done in a dedicated video editing app like iMovie, so if you’re looking to zoom and crop or perform more complex actions, use iMovie.
While this obviously applies to iPad, remember that you can also record time-lapse videos on iPhone and iPod touch as well, and with a little free app you can record time-lapse photography on Mac too using the built-in front-facing camera.