


© Techolac © Copyright 2019 - 2022, All Rights Reserved.
Internet
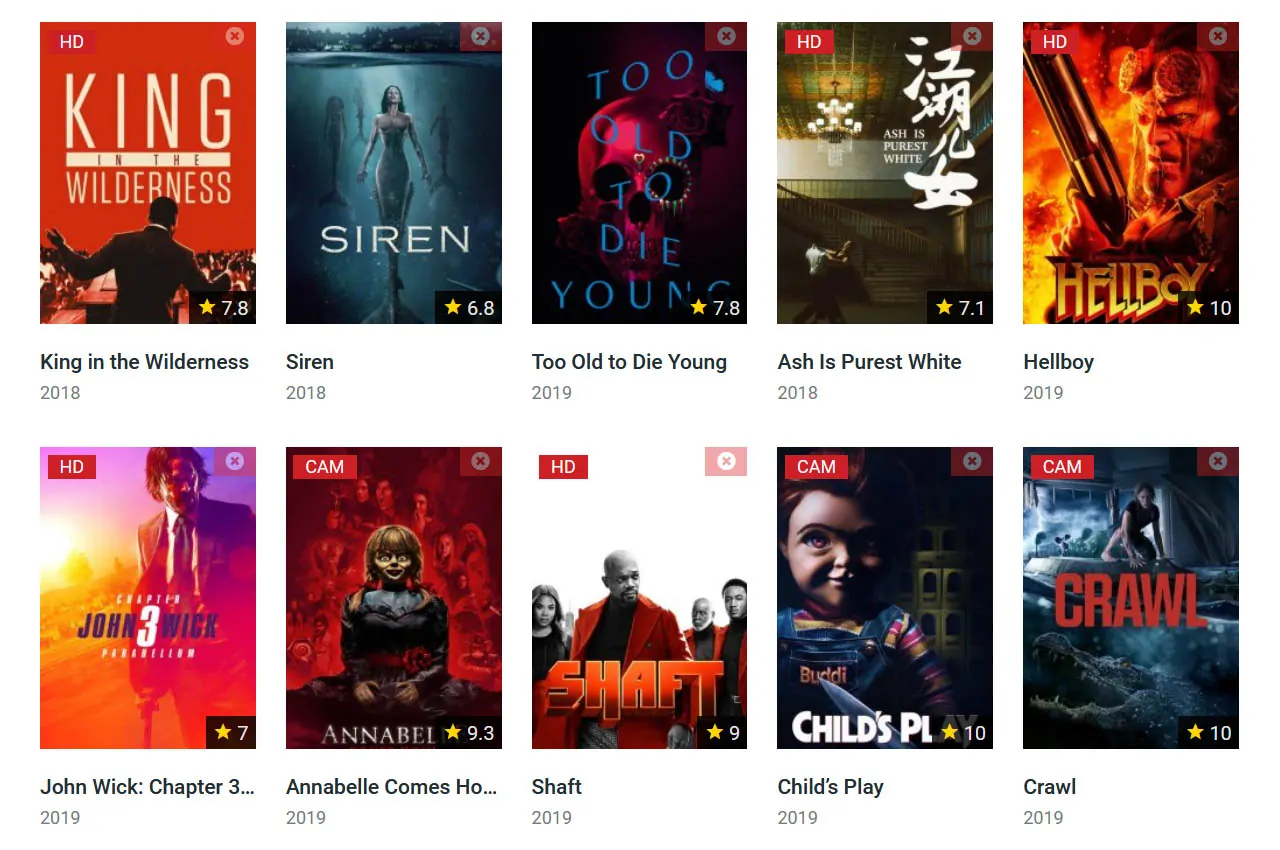
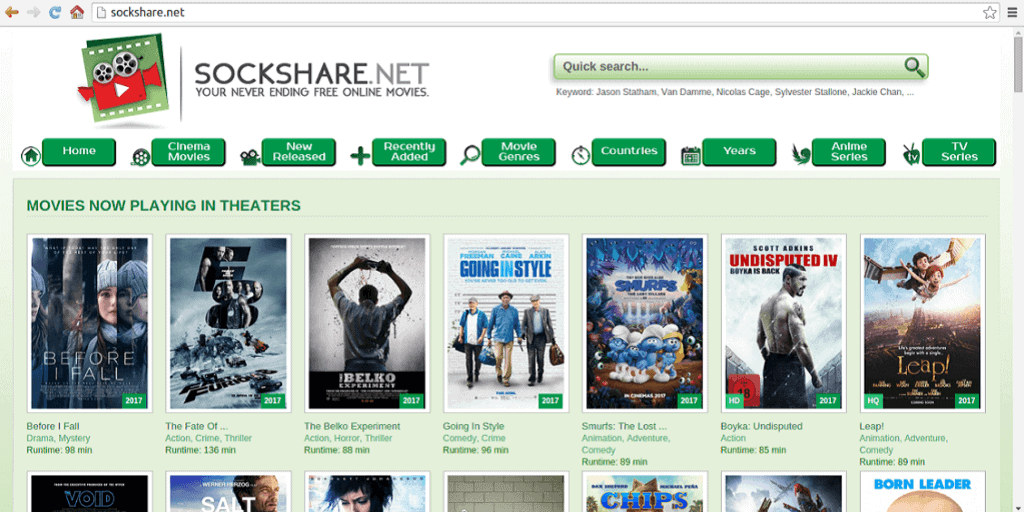
Is SockShare down? Best 16 Sockshare Alternatives Sites in 2024
Looking for a convenient and reliable platform to stream your favorite movies and TV shows? Look no further than Sockshare....
Read moreBusiness
Editor's Pick
MORE NEWS
Top 6 Best Cell Phone Tracking Apps
A cell phone tracking application is a part of the software that may be loaded on another device to follow...

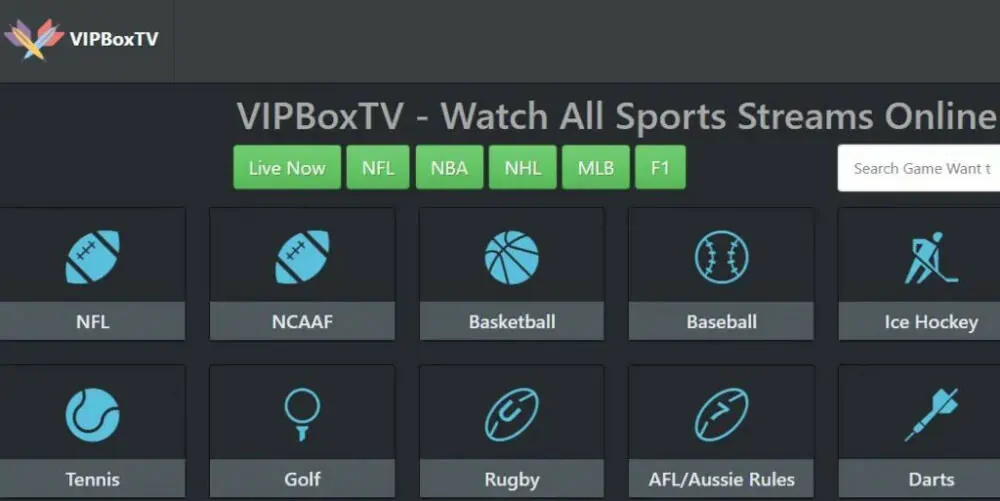
VipLeague Alternatives 20 Sites Free Sports Streaming
Looking for a reliable and convenient way to stream your favorite sports online without breaking the bank? Look no further...

PelisPlus Online HD TV Series Movies Alternatives Sites
PelisPlus, your ultimate destination for streaming movies and TV series in stunning HD quality. With PelisPlus, you can enjoy a...

Hesgoal TV Alternatives 25 Sites For Free Live Sports Stream
If you’re a sports enthusiast looking for a reliable and free way to catch all the action, look no further...

15 Best Free OCR Software for Windows 10/11 in 2024
OCR software has revolutionized the way businesses handle their digital documents. With its advanced technology and features, OCR software enables...
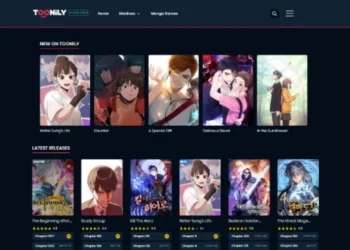
What Happened to Toonily? 24 Best Toonily Alternatives in 2024
Are you a fan of manhwa, the captivating world of Korean webcomics? Look no further than Toonily, an online platform...
Is Cowordle Free? Best 10 Games like Cowordle in 2024
Welcome to the exciting world of Cowordle, the latest craze in the realm of word puzzles. Cowordle has captivated puzzle...
Most Popular
-

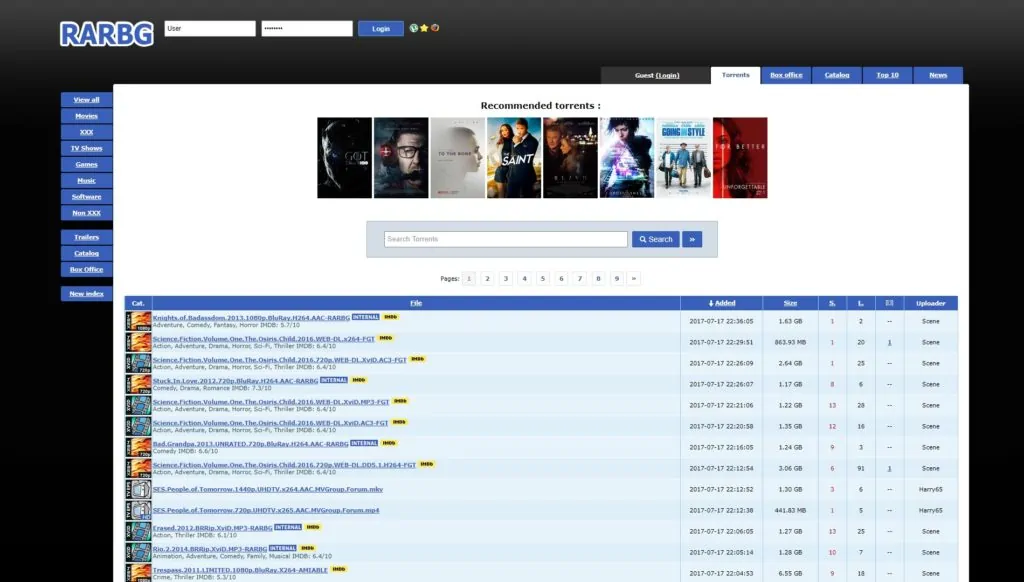
Rarbg Torrents Latest Rarbg Proxy Unblock 100% Working 2024
-
Top Best Torrent Sites 2024
-
192.168.1.1 – Router Login and Administration
-
The Pirate Bay Proxy Alternatives Mirrors Working 100%
-
9+ Best Ipa Apps Download Sites In 2024
-
123Series Alternatives: 30 Sites to Watch Movies And TV Shows Online
-
HuraWatch Alternatives 30 Sites To Watch Movies And TV Shows Online
-
Best Watch Free Streaming Movies Online Sites 2024 [WORKING]
-
How to Remove a Credit Card From Amazon
-
10 IPTV Smarters Pro Alternatives In 2024
Editor Pick